Uploading Checklists
You can upload a new (i.e. add) or updated checklist, or compliance scan result file(s) into OpenRMF® Professional to generate or update checklist records. To add (not update) checklists to a System Package you need the “Checklist Creator” group permission for that system package. You can go into the system package and then click the “Upload” button just above the table listing all checklists.
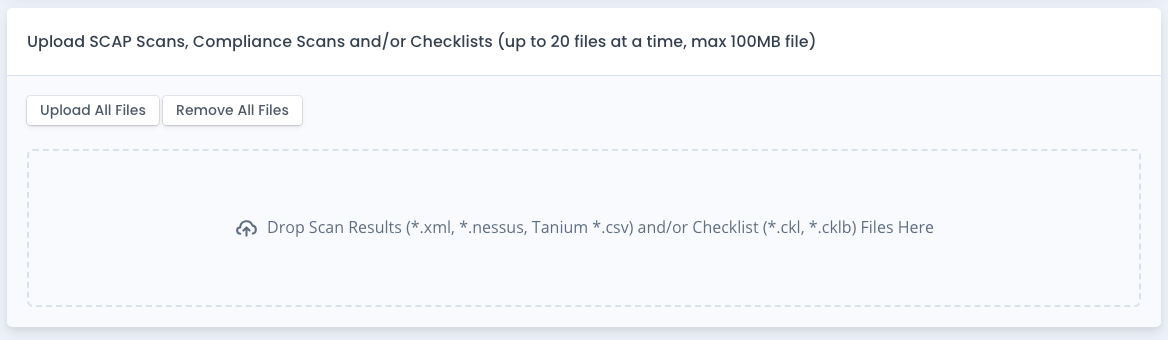
On this screen you can add a .ckl or .cklb checklist file you have or one of the below listed formats for SCAP and Audit Compliance scans that automatically turn into checklists. You can upload up to 20 files (checklist and/or scan results) at one time. The maximum file size is 100 MB.
Note that Checklist (*.ckl or *.cklb) files can be one-to-one matching a checklist type, a hostname (hostname is optional but recommended), as well as the web or database information on site and instance (if used). Or it can be a combined checklist containing a single host with multiple STIG or checklist types. Those 5 items (hostname, checklist type, web or database, site, instance) within a System Package determine the uniqueness on checklists, SCAP, Audit Compliance uploads and if your upload creates a new checklist entry or updates an existing one.
CKL / CKLB files that have combined checklist types or STIG types in a single file are uploaded and then separated into separate checklist records, one for each STIG or checklist type.
SCAP *.xml results matched to a DISA benchmark already contain only one matching host and checklist type. Tanium SCAP *.csv as well as Nessus/ACAS Audit Compliance scans (*.nessus) can contain multiple hosts and checklist types in their results you upload. Checklists generated will be one-to-one in the System Package Checklist Listing from the results upload.
Available formats we ingest:
- Checklist (CKL) file from STIG Viewer v2 or v3, or EvaluateSTIG
- Checklist (CKLB) file from STIG Viewer v3 or EvaluateSTIG
- DISA SCAP XCCDF using a DISA Benchmark
- Tenable Nessus SCAP
- OpenSCAP v1.2 or v1.3 using a DISA Benchmark
- Rapid7 Nexpose SCAP using a DISA Benchmark
- HBSS SCAP using a DISA Benchmark
- Tanium SCAP CSV results using a DISA Benchmark
- Tenable Nessus Audit Compliance with DISA Benchmark
- Tenable Nessus Audit Compliance with CIS Benchmark
- Rapid7 Nexpose scan with CIS Benchmark (1 profile per result currently)
- RapidFort JSON from Container Image scan with DISA Benchmark
Once the checklist is uploaded and processed, there are a few things that happen behind the scenes.
- A record is made matching this checklist to the system package
- The checklist score is calculated and saved for this checklist
- The system package checklist score across all checklists is updated and saved with this system
- The reporting system parses the checklist and saves off each vulnerability into a reporting structure for later use with reports and searching
- If you have a live POAM, any open or not reviewed vulnerabilities are added to the POAM linking back to the checklist
If this is a “update” of an existing checklist in this system, it also does a few more things
- It creates a checklist history record
- It creates a checklist score history record
- It creates a system package score history record
Upload Scan Results
When you upload a scan result the application matches the benchmark used for the scan up to the matching template in the system. More information on this detailed process is in the SCAP Scan Help Area and Audit Compliance Scan Help Area for checklists. Once the checklist is made from the scan the rest of the process listed above happens and the application returns to allow more uploads. Or you can go back to the system package page.
Choosing the template yourself
Some scan results do not name one checklist template. A Tenable audit compliance scan of VMware vSphere 8.0, for example, reports every component under one benchmark name, and there are a dozen vSphere 8.0 templates it could mean. When that happens the application either picks the wrong one or cannot pick at all, and you get a checklist with nothing in it.
To take the guesswork out of it, use the Checklist template to apply list above the file drop area. Pick the template you want and the scan is written into that template for every host in the file, without any benchmark matching at all.
A few things to know when you choose a template:
- It applies to scan results only. Checklist files (
*.ckland*.cklb) already say which STIG they are, so the upload is refused if you send one with a template chosen. Clear the template choice to upload a checklist file. - Upload one scan file at a time. The template you pick applies to that one file, so the upload is refused if more than one file is queued.
- Every host in the file gets a checklist from the template you chose. A scan holding ten hosts creates or updates ten checklists.
- A scan file holding more than one benchmark is refused, because one template cannot describe all of them. Upload it without choosing a template and let each benchmark match on its own.
- If the template you chose has nothing in common with the scan, the upload is refused and tells you so, rather than saving an empty checklist that looks like it worked.
- The list is rebuilt from your installed templates each time you open the page. Template records are replaced when an administrator refreshes or re-uploads them, so a choice you left sitting on the page for a while can go stale. If that happens the upload tells you the template no longer exists and the list reloads itself, and you can pick it again.
Use the Reload templates button if an administrator has added a template while you had the page open.
Leaving the list on “Match automatically by the scan benchmark” keeps the behavior described in the SCAP Scan Help Area and the Audit Compliance Scan Help Area.
Updating one checklist you have already got
Choosing a template says which STIG to build from. Sometimes you already know the exact checklist record the file belongs to, and the problem is that the application will not find it on its own. A scan that reports a hostname the checklist was not filed under, an appliance that reports no hostname at all, or a checklist you renamed will all create a second record instead of updating the one you meant.
For those, start from the checklist itself. Open the checklist record and use its Upload button. The upload page opens with that checklist as the target and tells you so in a banner across the top, and the template list is put away because it does not apply.
What that changes:
- The checklist you named is the one that gets updated. The hostname and STIG type in the file are not used to go looking for a record, so a mismatch there no longer creates a duplicate.
- A scan result is written into that checklist and it keeps its own hostname, along with its IP, FQDN and MAC address. Only the vulnerability results are taken from the scan.
- A
*.cklor*.cklbreplaces its contents instead, and is refused unless it is for the same STIG. That stops a wrong file turning one checklist into a different one while keeping its history and POAM items. - One file at a time, and the file has to describe a single checklist. A scan holding several hosts is refused, because only one of them could be the checklist you chose.
- A checklist that is locked or read only is refused, and says so.
Use the Upload without it link in the banner to forget the target and go back to ordinary matching, without losing the file you already dropped.
Upload a Checklist (CKL or CKLB) file
When you upload a regular checklist *.ckl or *.cklb file, the system parses and makes sure the checklist is valid. Then it saves the data and follows the process outlined above. The system returns to allow more uploads or you can go back to the main system page.