OpenRMF® Professional Application Settings
Administrators can set application-wide settings for all users under the different settings options. They are listed below. Each one also has a Default button to return to the default setting for the application version being used.
This in essence allows white labeling for the logo, color scheme, version, and footer information for your installation.
For these settings to take shape, you will need to save them and then log out. Log back in to see the latest settings and ensure you have what you need. Any other user logging in after you save them will also see the settings immediately upon successful login.
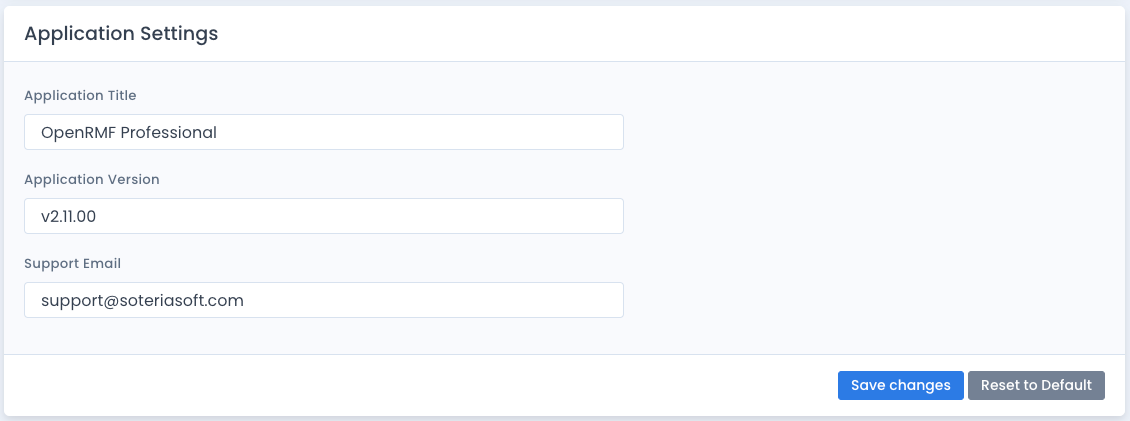
Application Title Settings
Application settings let you specify the title of the application. This appears on the title of each page and various sections throughout. You also can specify the version of the application if you wish. That shows on the footer of all pages as well as the Help –> About window. And the support email shows in the Help –> About window.
To return to the default settings of this version of OpenRMF® Professional, click the Reset to Default button.
Logo Settings
The logo settings allow you to put your own logo in the top left corner of the application on all pages. This needs to be a valid full URL that points to an image that can be displayed by all users that will be logging into the application. For the logo, the maximum width is 300px and the maximum height is 40px based on the default style sheet and themes included.
To return to the default settings of this version of OpenRMF® Professional, click the Reset to Default button.
![]()
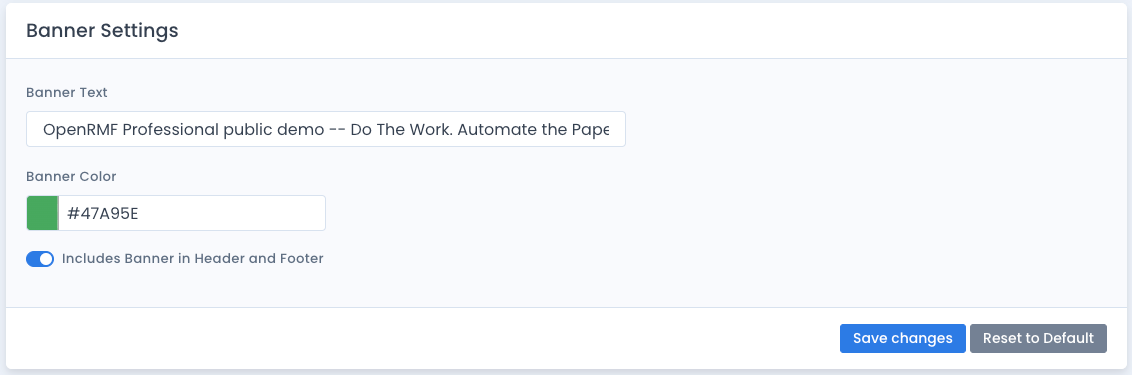
Banner Settings
There is a banner that is displayed on the top and bottom of every page. This is a required Application level STIG for DoD systems and an option on corporate and commercial installations. The default is a green banner with “CONTROLLED UNCLASSIFIED INFORMATION” displayed. You can change this or set the “Include banner” to off and save the information to change the banner. You must log off and then back on for the changes to take shape.
To return to the default settings of this version of OpenRMF® Professional, click the Reset to Default button.
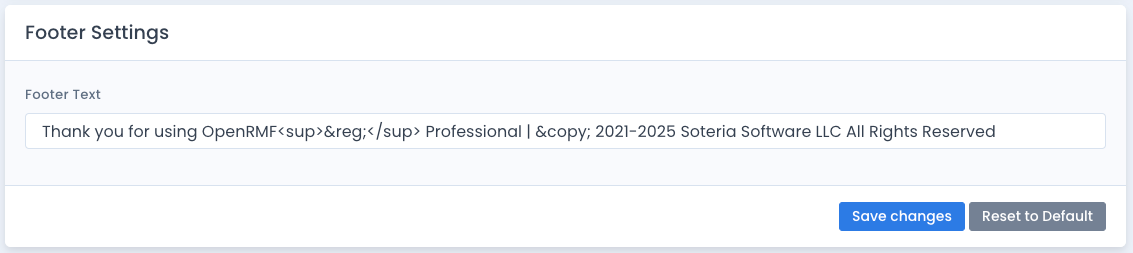
Footer Settings
The footer settings allow you to put your own slogan, saying, link, and other information into the footer on the bottom of every screen in the application.
To return to the default settings of this version of OpenRMF® Professional, click the Reset to Default button.
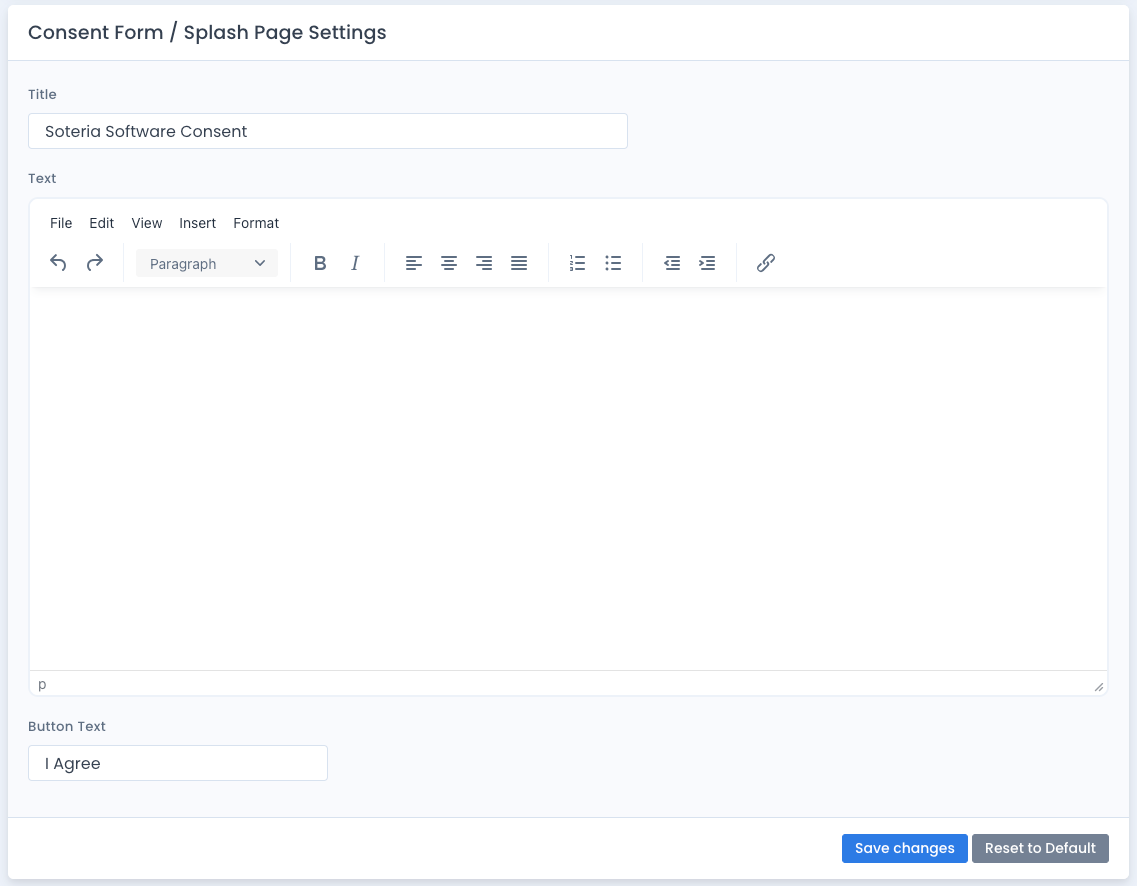
Consent / Splash Page Settings
The Consent text can also be use as Splash Page text. It is shown the first time someone logs onto OpenRMF® Professional. For DoD systems, it can be similar to the regular “DoD Consent Form” text people are used to seeing. For corporate or commercial customers this text can be whatever you want it to be. You also can set the button text to phrases such as “Ok”, “I Agree”, or other words and phrases your company or organization requires. You must log off and then back on for the changes to take shape.
To return to the default settings of this version of OpenRMF® Professional, click the Reset to Default button.
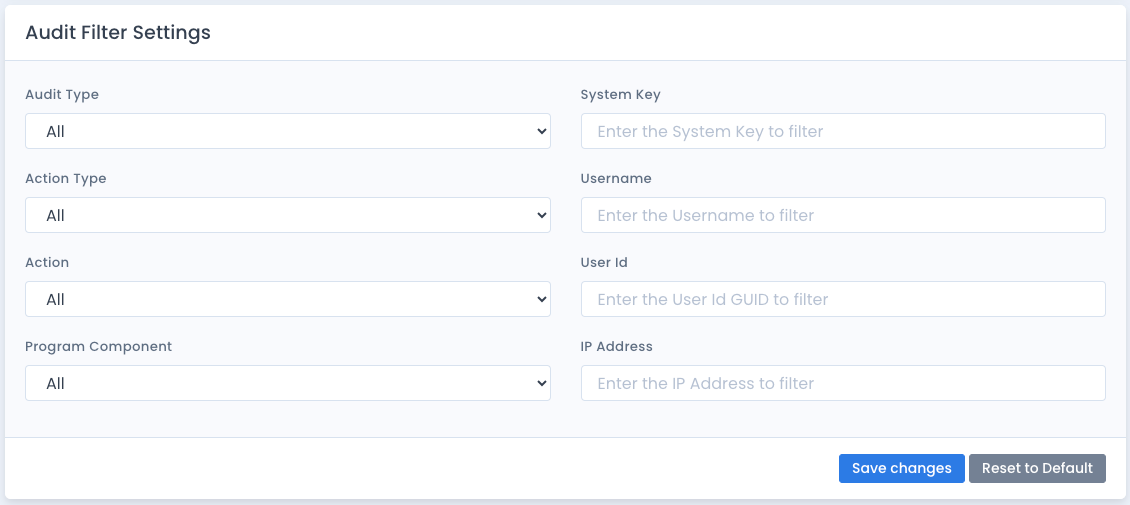
Audit Log Filtering
The Audit Log Filtering allows fine control over audit logs. By default all actions (create, read, update, write, list) on any component of the application (System, POAM, Reports, Checklists) are audited. This filter allows administrators to fine tune the component, type (failure, success, info), action as well as any system key or user for capturing data. These settings take shape as soon as you click the “Save changes” button.
To return to the default settings of this version of OpenRMF® Professional, click the Reset to Default button.