Data Sources Introduction
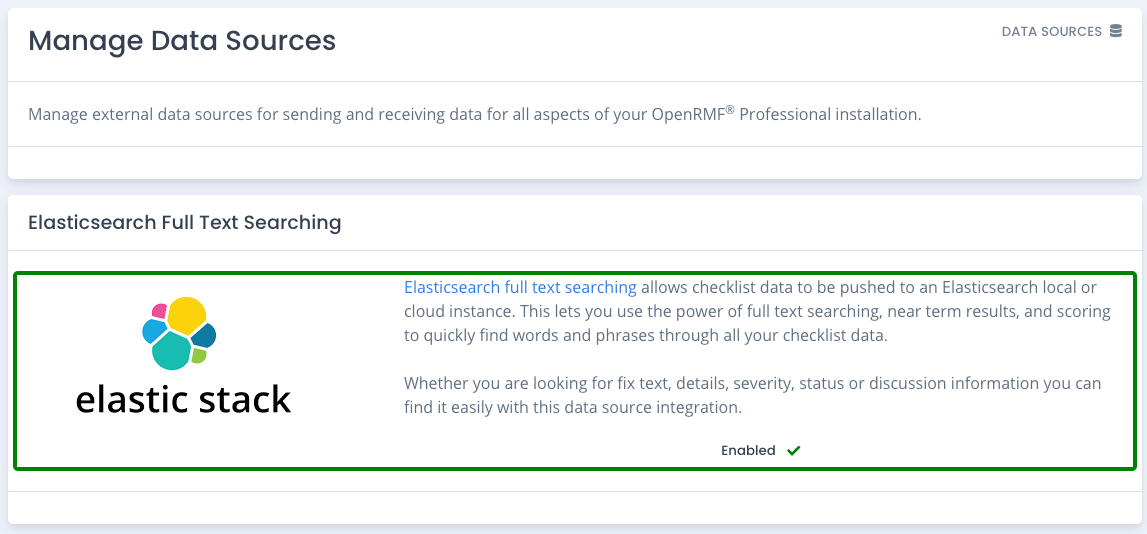
The Data Sources area in OpenRMF® Professional are for external connections the entire installation can use. Each data source is listed on the page and highlighted when set and in use. And there is an Enabled label with green check mark also when enabled.
Click on the icons or highlighted title in the data source description to go to that source and set up the integrations.
Elasticsearch Full Text Indexing
Click the Elasticsearch full text link to open its data source settings page. The Elasticsearch full text search uses the Elastic stack (Elasticsearch mainly) to fully index checklist details and checklist vulnerabilities. It indexes all data, not just the information typed in or added by users and scan results.
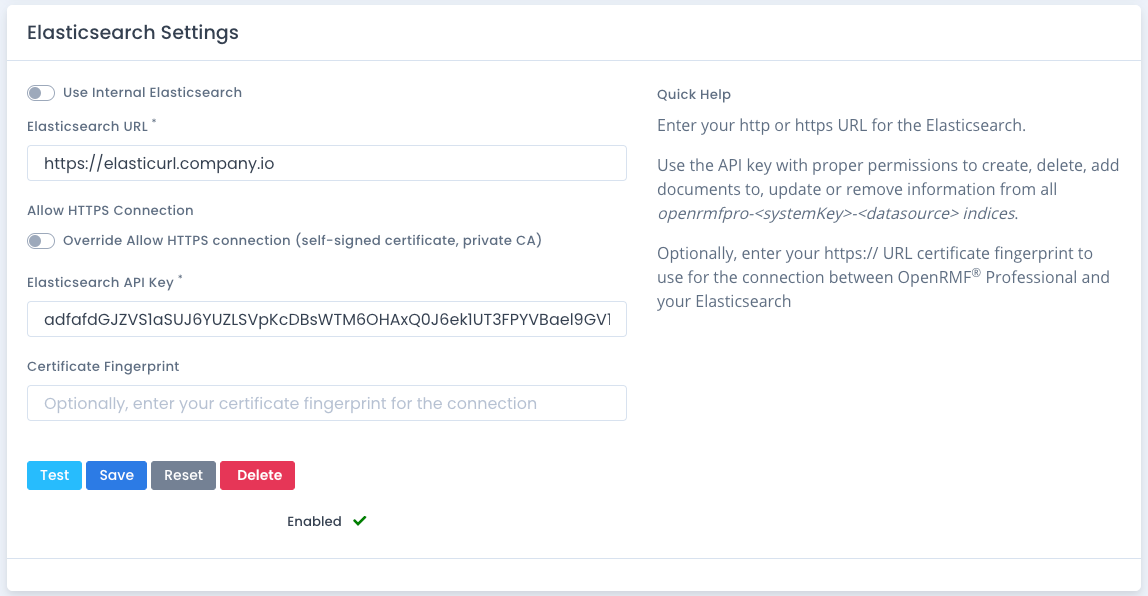
You can use the included ELK stack for the connection or connect your own cloud-based or separate ELK stack for use. Fill in the URL and API key at a minimum. If you have an HTTPS internal site you can select to allow the HTTPS certificate. And if you have a certificate fingerprint you can use that as well.
If you want to use the included Elasticsearch component on a local or virtual machine installation (not Kubernetes), click the slider to enable that. Then enter your API Key.
Your local or server installation when using Elasticsearch for full text indexing will consume more memory and hard drive space due to the indexing of data. The additional amount will depend on the number of active users, amount of checklist data, how often you update data, as well as how often you add data and how often you use searching. You can track usage of your installation memory and such with Metrics inside OpenRMF® Professional. Or use your own monitoring software on your local machine or virtual machine to track accordingly.
Managing System Package Data
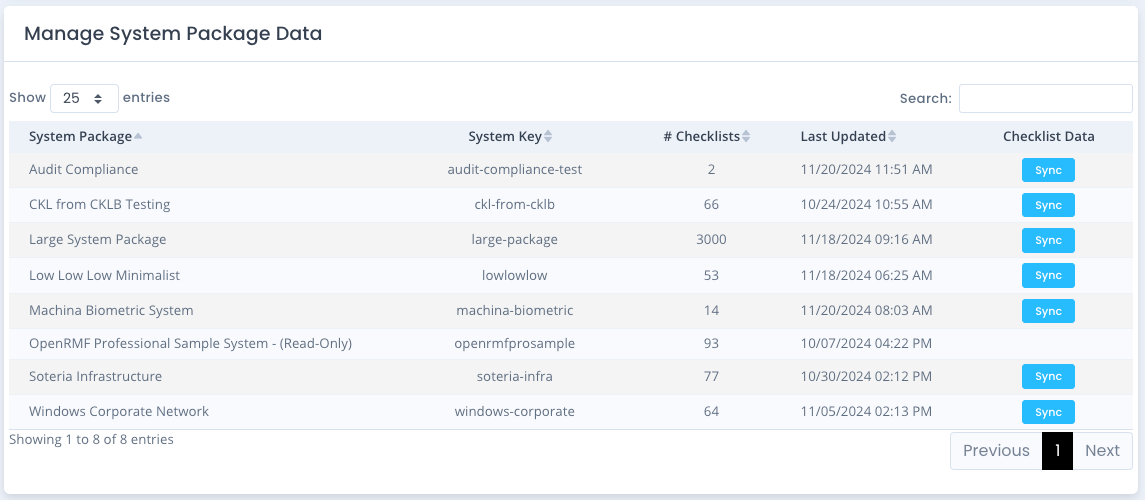
When the Elasticsearch data source is enabled, you have a listing of system packages displayed at the bottom of the page. To initialize the data if you already have an existing system package, click the Sync button for the corresponding package.
Note that for larger system packages with 1,000’s of checklists this can be time consuming and resource intensive.
API Key Configuration
For the API Key to work, it must have the permissions below. You can log into Kibana, go to the Stack Management page, and then click the API Keys link under security to see where these are created. Create a new key with this configuration and then generate the token to copy/paste into the data source settings.
{
  "superuser": {
    "cluster": [],
    "indices": [
      {
        "names": [
          "openrmfpro-*"
        ],
        "privileges": [
          "all"
        ],
        "allow_restricted_indices": false
      }
    ],
    "applications": [],
    "run_as": [],
    "metadata": {},
    "transient_metadata": {
      "enabled": true
    }
  }
}